How To Make a Structured Handbag

Create a multi-media handbag with straw
Free Purse Making Video Tutorials

Welcome to our structured purse-making video tutorials!

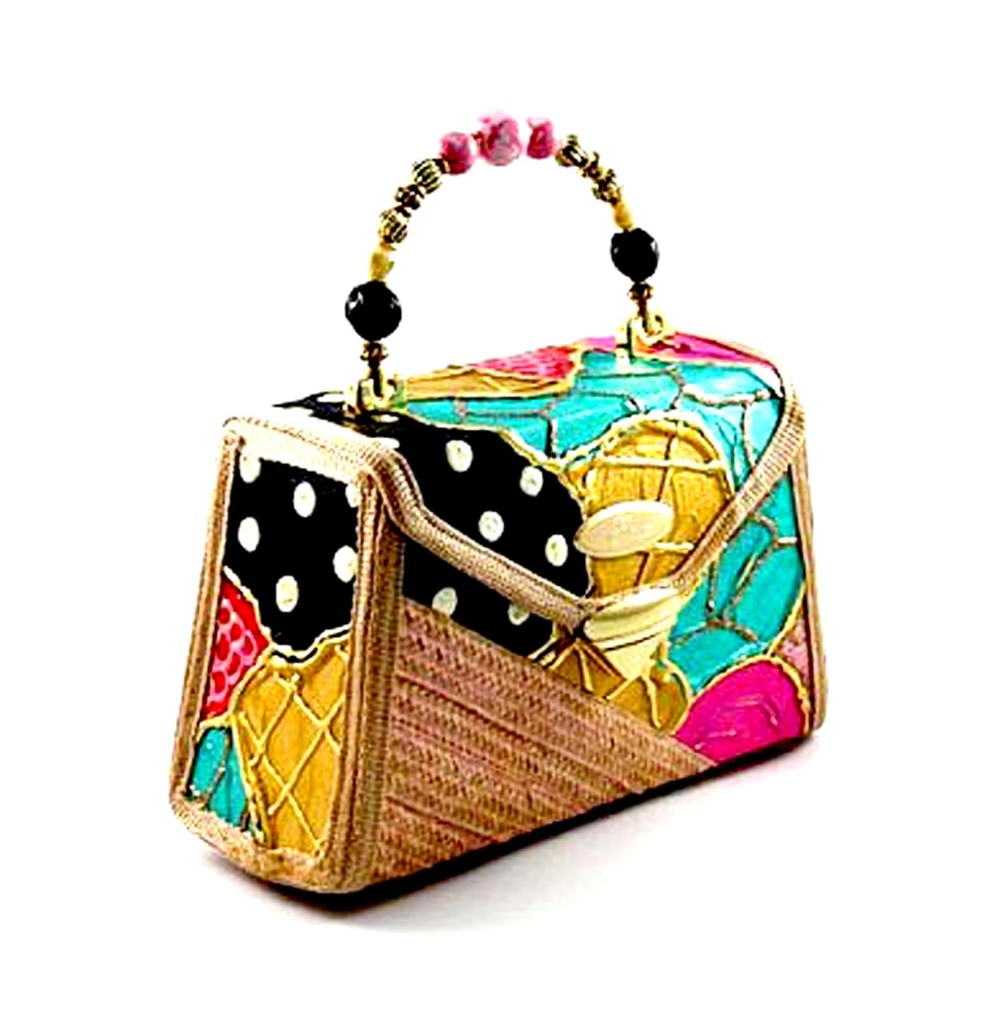
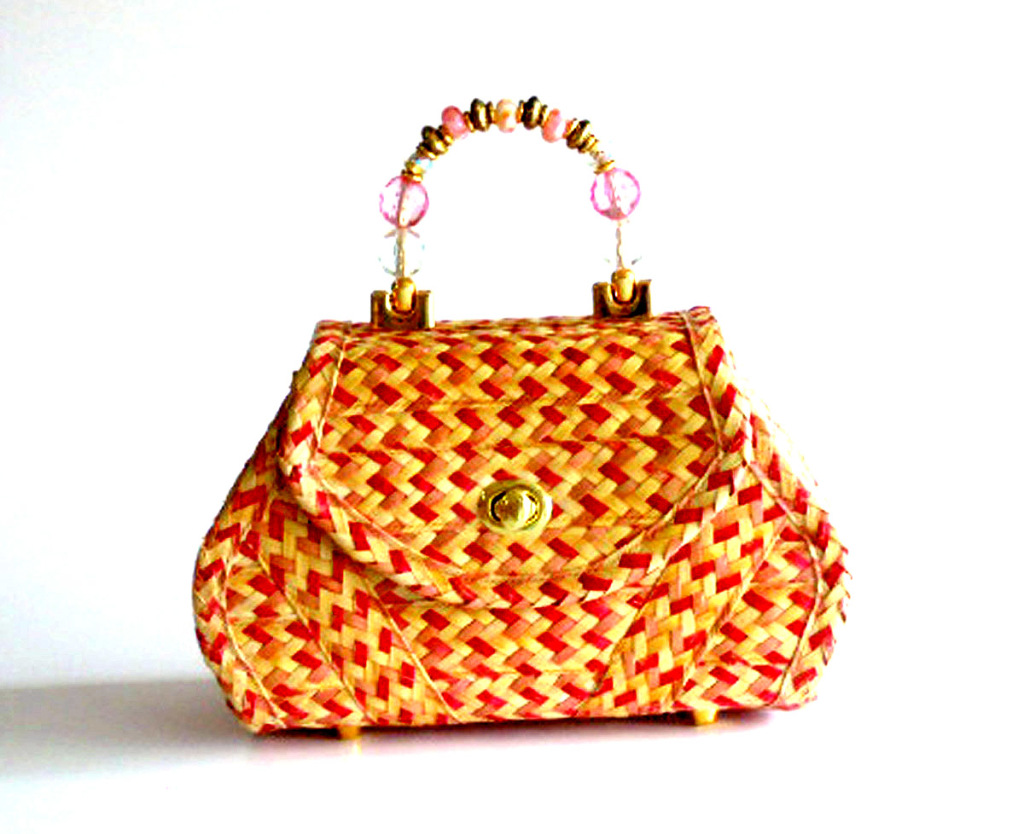
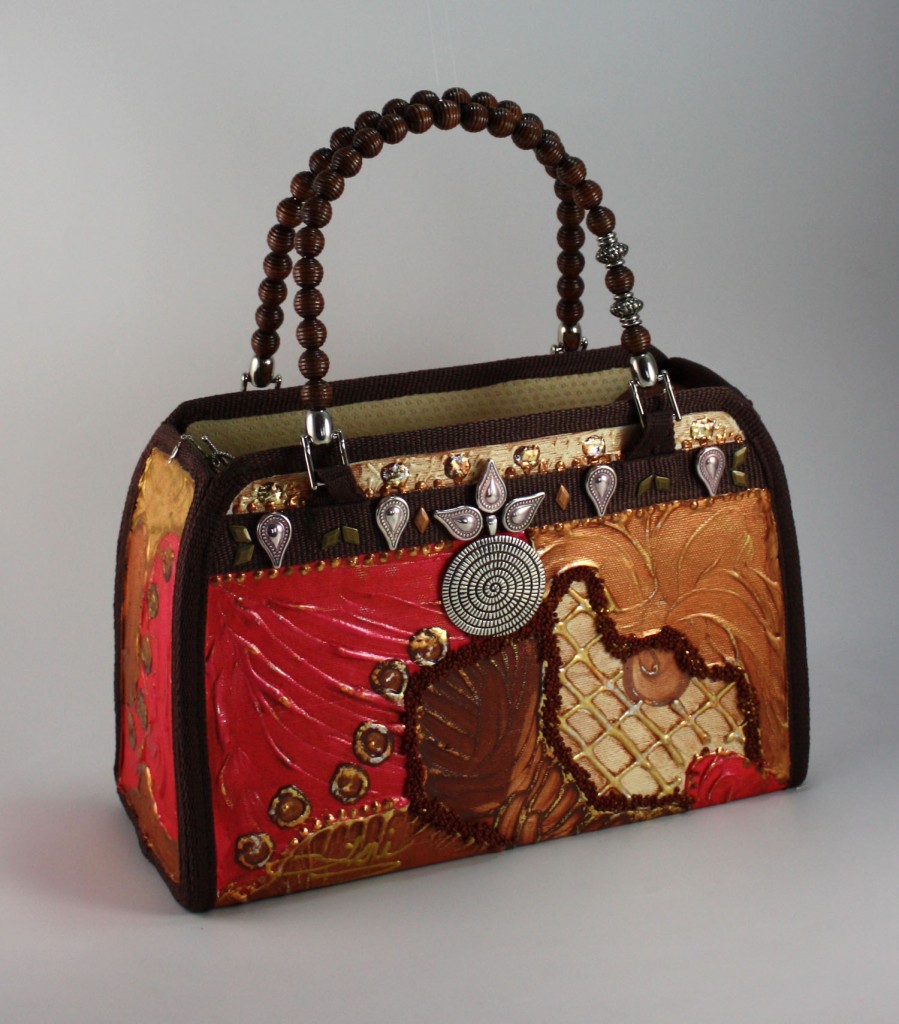
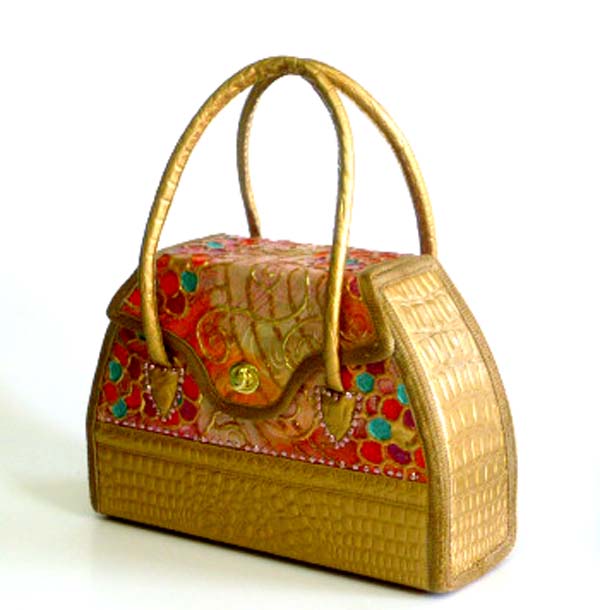
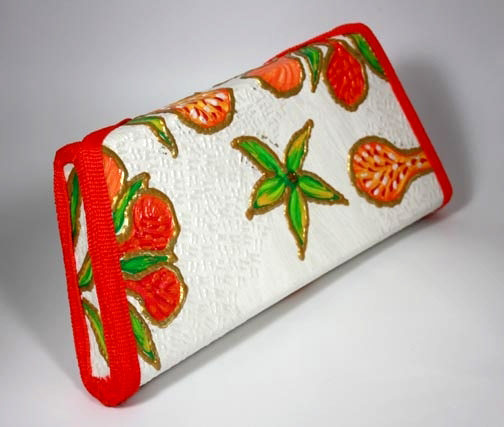
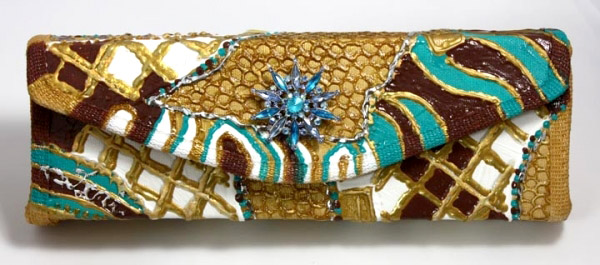
Although I’m making these structured handbag videos available for you free of charge, I sure wish I had these videos when I was plodding my way through learning how to make a handbag. Why, you’d ask? Well, to be honest, it took me years to develop this technique with very little help. Like you, I wanted a tutorial or a suitable mentor to help me to improve my product so that I would have value added to my handbags. Was I frustrated? Absolutely! But I was committed to learning how to make a structured handbag, so I plugged at it with my husband cheering me on, and my sewing machine mechanic’s wise insights. For those of you who are looking to take your straw bags up a notch, there are lots you can glean from these videos. Many straw bag makers in my classes never learned how to make a pattern. Everything was winged or guestimated leaving one side of the bag considerably different from the other. These videos will help you with the structure, but my straw clutch video will help you to sew the straw effectively.

I always loved sharing my purse-making secrets with my students, so I’m finally doing it for free on my website. Since I’m not selling this information, I’ll place links on the site to help you locate materials or you can grab a copy of my book that directs you to suppliers and the supplies I use in this process. My disclaimer is, if you buy the product, I will make a small commission. So, in essence, I will be helping you, and you will be helping me to take care of some of the costs involved with maintaining this site. I hope you enjoy the videos and really improve or learn to make incredible structured handbags or straw bags.

Make the cutest straw bag ever

designing your purse

In this video, I show you how to simplify your purse design to create an effective, good-looking handbag. There’s really no need to complicate this step. Start with the basics and then add the bells and whistles as you strengthen your technique. Many of my students came with their own ideas, applied my techniques, and made gorgeous designer handbags. So, don’t let this baby step overwhelm you. Don’t overthink any of these steps. I didn’t know much about sewing but learned just so I could display my painted fabrics on a good-looking purse. 

The materials you will need here are a piece of paper, a pencil, and a ruler or tape measure. You probably have most of that laying around. But if you want to document your designs, consider keeping them in a design book for easy reference. Be sure to date the design so you can keep track of how much you have developed.

making your Structured handbag pattern

There are two parts to this tutorial. Both are necessary, so you don’t want to miss a beat. This is such an exciting part of the bag-making process! If you let it, your creative juices will be so stirred you will need several design journals to keep track of your ideas. This is one step that requires accuracy, but you need not complicate it. Just remember, patterns must be measured for accuracy, and properly cut, not torn. Relax, if I can do it, so can you.

Materials

cutting out structured purse components

Your tools for this step are quite simple, yet extremely important, so please take note. I’ve outlined them just above the Pattern Tutorial Video. Like I mentioned with the pattern, you do not want to tear the components. Accuracy is key to have a balanced purse.

The juicy ingredient in your structured purse is Bontex, Texon, or Leatherboard. You can get by with chipboard but it warps and loses its shape; also handles don’t have as long a life span on chipboard unless it has been covered with foam. The other three are like the Timex watches in the bag world. They take a lickin’ and keep on tickin’. If you must use chipboard (we get in in the massive sheets here but I’ve only seen small sheets on amazon), then be sure to use the foam on top of it to give it a sturdier feel. The color isn’t important unless it shows through your fabric. I love the roll but you can use the large sheets also.

How to Assemble you structured handbag

You’ll need to have some airflow or be in a well-ventilated room for this step.  It’s time to marry the layers of your bag together and you want them to remain firmly attached without bumps,  discoloration, and odd smells. Yes, I’m still talking about your bag. If you’ve used other processes in attaching your fabric you probably have experienced the odd glue smell, the cracking, peeling, and the bumps. Watch this video to see how we solve that problem with our spray adhesive.

installing purse hardware

This unfortunately was a task I did not enjoy, until I realized there was a simplified way of approaching it. Now your purse handles can be centered, purse feet balanced and twist lock, tuck lock, or magnetic closure can be thoughtfully placed and easily installed. Like my sweet island grandmother used to say, “Girl, now you’re cooking with oil!”

When selecting handles my favorite has been the beaded however only a handful of suppliers are now keeping them in stock which is why some people are making their own, swapping out the beads on Darice handles, or using other types of handles. All of the above will work. In fact, you can make this handbag a clutch without any handles. Some of my clients prefer a variety of styles so I’ve had to be flexible with my designs. While many people use a craft knife like xacto to cut the holes for their twist locks, I prefer a hole punch designed specifically for the lock. When using a hole punch, you will need a poundo board and a rawhide mallet. You can substitute a tuck lock or a very strong magnetic closure if you don’t want to invest in one. I’m including Amazon links but not all the suppliers are on Amazon so you might want to secure a copy of my book What’s in Your Handbag, Girl? to locate other supplies. Suppliers change their products from time to time so give them a call if you don’t see a particular item on their site. Many of them would place a special order for you when possible. Or if there are sufficient requests, begin stocking the product if they’ve slowed down on it. Please note, this is not a how-to book as some thought. The majority of the suppliers are in the United States simply because that’s where I’m closest to and do business with.

Make and paint a handbag
Handbag class- tubular purse handles.
make a clutch purse
make a clutch

Purse lining & pocket

We’re going to make a little boxed pocket that can actually hold something in your purse? This simple functional pocket stitched to your purse lining is so easy you won’t want to make another bag without one. We’ll attach the lining and be ready to move to the binding. To help you with this step, you can also use a double-sided tape.

applying the binding

A student told me he hated sewing binding and avoided this part of my tutorials for quite some time. After getting the nerve he said to watch this process he laughed himself silly. He was making a big deal out of nothing. It was so easy he quickly dropped his tedious method and began producing better-looking bags at a faster rate. You can do the same. One of the biggest challenges people face with applying the binding is using a heavy weight binding that’s broader than 1″. Sewing on Bontex also makes your sewing a lot easier as the bag is sturdier. So here is my recommendation of the top for sewing binding. Use a lightweight polypropylene 1″ webbing. Or if you are using straw, avoid coarse, thick plait. The peel is ideal for binding your purses.

Applying your Purse sides to the structured handbag

In this step, we hand stitch the sides to the purse body. Sorry, no gluing shortcuts here. We want this handbag to have a neat and long-lasting finish, so we’re going to tuck the sides in and stitch firmly so there are no peepholes. You’ll need an all-purpose thread for this along with your doll needle. This is the last leg of the video so we will complete the installation of the twist lock.

For those of you who want to see me bead the purse handle, that video is following.

Beading Your purse handle

You may find this step a little therapeutic. It’s fun going through the beads and coordinating the colors, styles, and sizes. Wire bead handles come in different size frames and end tips. The majority seem to have loops that can be stitched down with webbing. Some folks stitch them down with straw only to find the straw breaking away. If you are going to use straw, stitch a piece of fabric under it to hold it together and support the weight. I love the pronged tips but the tip for making cigar box bags are also nifty. In any event, you want tips that can screw off so that you can load them up with your beads.

I hope you enjoyed the videos! Be sure to check out our other tutorials and the Blog for more helpful insights.

Leave a Reply

Your email address will not be published. Required fields are marked *